

Quick Take: This guide helps you quickly decide if a twinge means urgent care or just a small hiccup.
If you have any emergency signs like severe chest pain or trouble breathing, call emergency services now.
If your symptoms seem less serious, follow these steps to track and decide on next steps.
This guide shows you a simple, step-by-step flowchart to sort serious symptoms from minor ones. It uses proven methods like RETTS (a system to assess emergency signs) and the ABCDE method (a quick check-up of breathing, heart rate, and blood pressure). By measuring these key numbers, you can spot important signs without delay.
Follow these clear steps and trust your instincts. This safe, practical approach makes it easier to know when you need to act fast.
Step-by-Step Triage Flowchart to Differentiate Serious vs Minor Symptoms
This flowchart is based on solid evidence using the RETTS system. It uses the ABCDE method (airway, breathing, circulation, disability, exposure) and tracks key signs like breathing rate (less than 8 or more than 30 breaths per minute), oxygen levels (less than 90%), heart rate (less than 50 or over 120 beats per minute), and blood pressure (systolic less than 90 mmHg). This constant tracking helps adjust patient care as their condition changes.
It was made to guide you step-by-step when symptoms are not clear. The system blends clear numbers, like a Reaction Level Scale score over 3 or a Glasgow Coma Scale score under 8 (fewer than 8 on a 15-point scale means low consciousness), with clinical judgment to reduce the chance of missing serious signs.
- Check the reason for the visit using ESS or ICD-10 codes.
- Do an ABCDE vital signs check.
- Evaluate awareness using the Reaction Level Scale and the Glasgow Coma Scale.
- Decide a preliminary color priority from blue, green, yellow, orange, to red.
- Use the RETTS score to break ties if several patients have the same color.
- Choose the next steps: start resuscitation, send to the emergency department, set up an outpatient review, or manage with self-care.
After you decide on the care pathway, keep checking the patient. Watch for any changes in vital signs or alertness and run them through the flowchart again if needed. This loop makes sure that any shift in condition is quickly noticed and the care plan is updated right away.
Assessing Vital Signs in the Triage Flowchart

Quick take: The ABCDE method helps you spot urgent signs fast.
If you see any warning signs below, call emergency services immediately.
• Airway: Trouble speaking, strange high-pitched or whistling sounds, or a weak, hoarse voice
• Breathing: Very slow (less than 8) or very fast (more than 30) breaths per minute, oxygen levels under 90% on pulse oximetry, or extra muscle effort when breathing
• Circulation: A heart rate under 50 or over 120 beats per minute, systolic blood pressure under 90 mmHg, slow capillary refill (more than 2 seconds), or abnormal skin color/warmth
• Disability: A Reaction Level Scale over 3 or a Glasgow Coma Scale below 8, which shows reduced alertness
• Exposure: A body temperature below 35 °C or over 40 °C, signs of hypothermia (too cold) or hyperthermia (too hot), or injuries from the environment
This approach uses clear, measurable signs to guide quick decisions. Each step helps you decide if urgent care is needed or if you can safely monitor the situation.
Identifying Symptom Red Flags in the Triage Flowchart
Quick Take: If you notice signs like difficulty breathing, shock, or chest pain with sweating, get help immediately.
Triage Box:
- Red flags – Call emergency services now if you see any of these:
- Trouble breathing or blocked airway.
- Blood pressure below 90 mmHg or heart rate over 120 beats per minute (fast heart rate).
- Uncontrolled bleeding.
- Chest pain with sweating.
- Low consciousness (Glasgow Coma Scale under 13).
- Urgent – These signs need same-day care:
- Sudden weakness, numbness, or other major changes in movement.
- Severe chest pain classified as ESS 5.
- Watch and self-manage – For milder symptoms:
- Low-grade fever.
- Minor sprains, headaches, or small cuts.
If you experience any red-flag symptoms, act now by calling emergency services. Sudden changes like these may point to serious problems that need urgent intervention. For less severe signs, follow your clinician’s advice and monitor your symptoms closely while you await further evaluation.
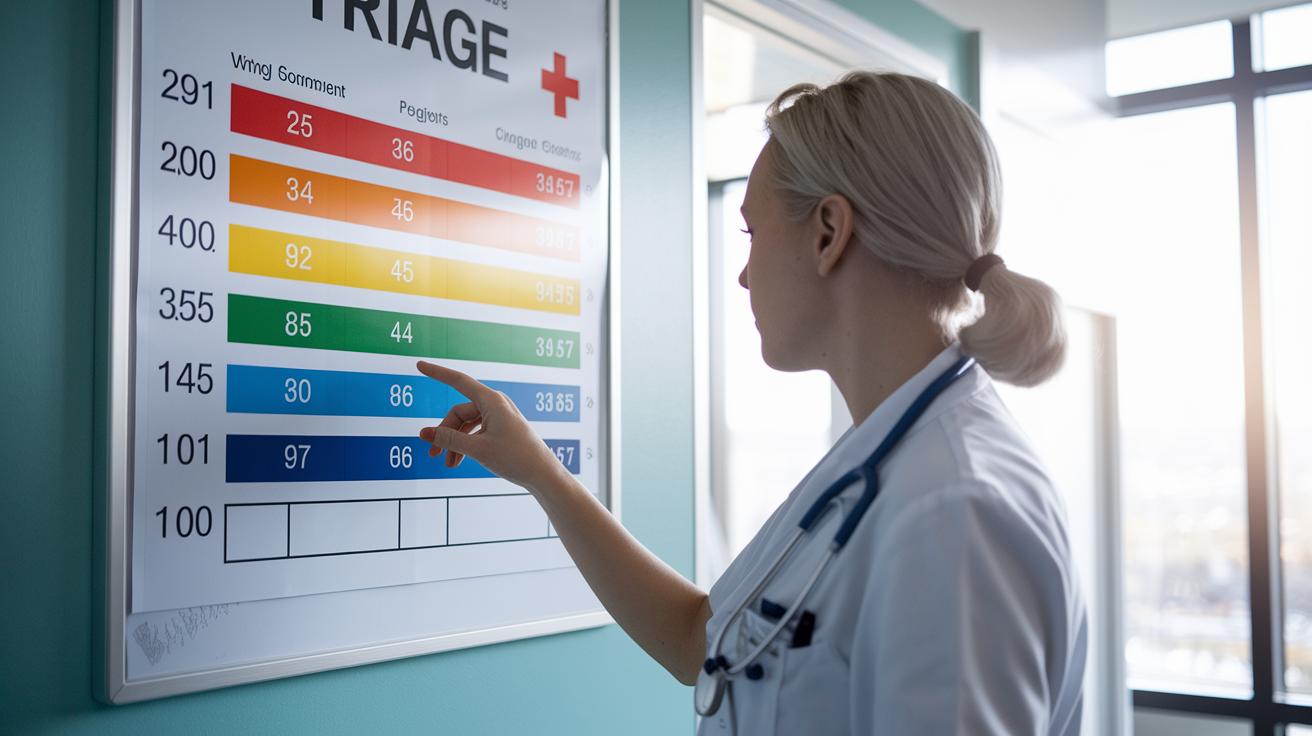
Color-Coded Scoring System for Urgency Mapping

This section shows how health care teams use color codes from the RETTS system (Rapid Emergency Triage and Treatment System) to match a patient’s condition with how closely they need to be watched. These colors help decide how fast a patient should be re-checked and how much direct care is needed. The system does not give exact waiting times. Instead, it tells if a patient needs constant monitoring for a high risk or periodic checks for a lower risk.
| Color | Priority Level | Recommended Action |
|---|---|---|
| Red | Immediate | Resuscitation and continuous monitoring |
| Orange | Very urgent | Emergency department check within 10 minutes |
| Yellow | Urgent | Treatment within 30 minutes |
| Green | Low urgency | Outpatient clinic management |
| Blue | Non-urgent | Self-care advice |
Linking this table to the triage flowchart, the color system turns clinical details into one of five easy-to-see categories. This helps clinicians quickly decide if a patient needs immediate resuscitation, fast emergency evaluation, or can be managed with less urgent care. The colors are a vital part of the overall process to ensure patients are seen and monitored as their condition changes.
Incorporating ESS and ICD-10 Codes in the Triage Flowchart
Quick take: Linking patient complaints correctly helps you get the right care fast.
ESS algorithms sort patient complaints into clear categories by matching each main symptom with a specific ICD-10 chapter (a standard set of medical codes). This method keeps the way symptoms like chest pain, trouble breathing, or neurologic signs are recorded consistent across clinicians so everyone is on the same page.
Choosing the right code means reviewing what you see and what you know about the patient’s history. Clinicians compare the patient’s symptoms with ESS guidelines and pick the fitting ICD-10 code. This step focuses the emergency response and helps set the right priority for care based on potential risks.
For example, a person with severe chest pain might be given an ESS code that signals a heart-related issue, while someone with sharp abdominal pain would get a different code. These examples show that matching ESS with ICD-10 makes risk evaluation clearer and supports better care decisions.
Recommended Follow-Up Actions for Each Triage Outcome
| Triage Level | Follow-Up Action |
|---|---|
| Red/Orange | Call emergency services immediately and be ready to provide resuscitation if needed. Make sure they are informed. |
| Yellow | See a doctor the same day. If you haven’t set an appointment within a few hours, give them a follow-up call. |
| Green | Schedule a routine visit with your primary care provider in 24–48 hours and call if your symptoms worsen. |
| Blue | Manage your care at home using a checklist and seek help if any warning signs develop. |
These steps work with our triage flowchart. For red and orange outcomes, you need immediate emergency care. Yellow cases get extra confirmation for a same-day consult. Green outcomes include a scheduled follow-up with reminders, while blue outcomes offer clear self-care guidelines with instructions to seek help if needed.
Best Practices for Using a Triage Flowchart in Clinical Practice
Start with strong staff teaching and practice drills. These sessions help your team learn the ABCDE scoring method (a quick way to check patient conditions) and apply the flowchart in real-life situations. Practice drills build confidence and allow everyone to quickly adjust to changes in patient vital signs by following consistent color rules.
Use standard forms for charting to record vital signs, diagnosis codes (ESS/ICD-10), and color labels. Keeping records uniform helps you spot trends or sudden shifts that may show a worsening condition. When everyone uses the same format, it’s easier for clinicians to compare information over time.
Check the patient status every 15 to 30 minutes to catch changes early. Regular checks ensure that if a patient’s condition shifts, you can update the triage score and color right away. This quick review helps make sure that care is stepped up as needed.
Set up clear communication rules for the whole team. Quick, direct handoffs and regular briefings keep everyone aware of the situation so the team can act decisively. When all team members have the same information, care stays steady and responsive.
Regularly review the flowchart and patient cases to update your methods based on real outcomes. Feedback from different disciplines helps improve processes and add lessons learned from recent cases. These reviews keep the triage tool accurate in telling apart serious symptoms from milder ones.
Final Words
In the action, this guide broke down the triage flowchart for differentiating serious vs minor symptoms into clear, actionable steps. It explained vital sign assessment, red flag indicators, color-coded urgency, coding integration, follow-up actions, and best practices.
Each section provided practical guidance, equipping you with a solid patient assessment algorithm to quickly decide the next steps. Stay calm and follow these steps to manage symptoms effectively, keeping safety front and center.
FAQ
What are the 5 levels of triage?
The 5 levels of triage use a color-coded system—red for immediate resuscitation, orange for very urgent, yellow for urgent, green for low urgency, and blue for non-urgent—guiding how quickly patients receive care.
What are the three levels of triage?
The three-level triage system classifies patients into emergent, urgent, and non-urgent categories, offering a simpler framework for quick decision-making in time-sensitive situations.
What is the triage colour code in emergency?
The triage colour code in emergency settings assigns colors—such as red, orange, yellow, green, and blue—to indicate patient urgency, ensuring that those needing immediate care are prioritized first.
What are the triage guidelines for the emergency department?
Triage guidelines in the emergency department provide clear, step-by-step procedures for assessing vital signs and symptoms, then categorizing patients by urgency using structured systems like color codes or scoring thresholds.
How do you do a triage assessment?
A triage assessment begins by identifying the patient’s chief complaint, then evaluating the ABCDE vital signs, consciousness level, and other key parameters to determine the appropriate urgency and care pathway.
What are the 6 types of triage?
The 6 types of triage include models such as simple, five-level, disaster, field, mass-casualty, and advanced triage systems, each designed for different scenarios and resource environments in emergency care.
What are the 5 S’s of triage?
The 5 S’s of triage are a set of steps used in some systems to streamline patient sorting; they offer a concise checklist to ensure quick, systematic evaluation during the busy moments of care.
Which condition is most serious and should be triaged first?
Conditions with signs of airway compromise, shock (for example, blood pressure below 90 mmHg or heart rate over 120 bpm), or significantly altered consciousness are the most serious and must be prioritized immediately.
What are the four categories of triage?
The four categories of triage typically split patients into groups such as immediate, urgent, less urgent, and minimal, which helps healthcare workers efficiently allocate limited resources based on clinical need.