

Quick take: When direct pressure fails, a tourniquet can help control heavy bleeding.
If you see any signs of severe bleeding, feel lightheaded, or start to faint, call emergency services immediately.
Imagine this scenario: You or someone nearby is bleeding heavily, and pressing on the wound is not enough. This guide shows you a simple method to use a tourniquet, one twist could save a life.
Here’s what to do:
• Find a tourniquet or a strong band.
• Wrap it around the limb above the bleeding spot (closer to your heart).
• Tighten it until the bleeding slows or stops.
• Write down the time you applied it. This helps doctors know what happened when you get help.
These clear, step-by-step instructions can be crucial during an emergency. Remember, if you see signs of shock or the person’s condition worsens, seek urgent medical care right away.
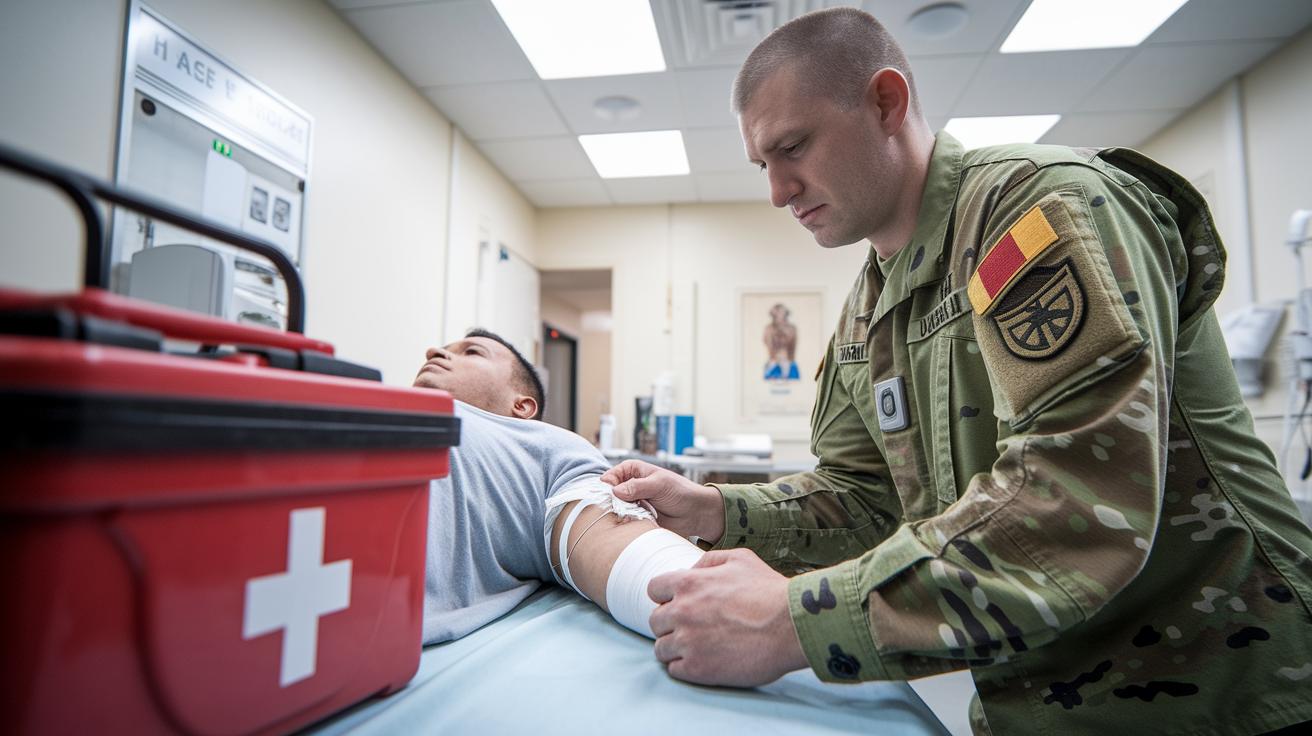
Step-by-Step Tourniquet Application for First Aid
Quick take: A tourniquet can stop severe bleeding when direct pressure isn’t enough.
If you have any of these emergency signs, call emergency services now:
- Excessive bleeding that does not slow with direct pressure
- Signs of shock such as dizziness, weakness, or a rapid pulse
Urgent: Seek same-day medical help if bleeding continues after applying the tourniquet.
Watch and self-manage: Keep track of the time when you apply the tourniquet and stay alert to any changes.
- Check the area for safety. Look for fire, broken glass, or unstable surfaces before you approach.
- Press firmly on the wound with a clean cloth or gauze. If the bleeding does not slow, get ready to use a tourniquet.
- Remove or adjust clothing so you can clearly see the bleeding site.
- Wrap the tourniquet 2–3 inches above the wound on bare skin, and make sure it is not over a joint.
- Tighten the tourniquet using a band at least 4 centimeters wide. Twist the windlass (handle) until the bleeding stops. Make sure the pressure is firm.
- Write down and mark the time you applied the tourniquet. This is important for the medical team.
Common mistakes include:
- Placing the tourniquet too close to the wound or over a joint
- Using a band that is too narrow or not twisting the windlass securely
- Waiting too long to press directly on the wound
This guide is for emergency first aid and does not replace professional training. If the bleeding keeps coming or you see other worrying signs, get medical help right away.
Selecting Tourniquet Equipment for Effective First Aid
Quick take: A proper tourniquet stops heavy bleeding quickly and can save a life.
Triage Tips:
- Emergency: If bleeding is severe and uncontrolled, call emergency services now.
- Urgent: Use a reliable tourniquet immediately if heavy bleeding shows no signs of slowing.
- Self-care: Once bleeding is controlled, follow your kit’s instructions and seek medical help if needed.
Commercial tourniquets such as CAT Gen 7, SOFTT-W, and SAM XT are built tough with strong nylon and secure locks. They are made to attach quickly and hold tight during emergencies. These models include smart features like a quick-release buckle, a reinforced windlass rod (a rod used to tighten the band), and a clear tension indicator so you know the device is working properly. In trauma cases, a well-applied tourniquet can mean the difference between life and death.
Compact tourniquet kits are vital for both tactical needs and everyday first aid. A
Improvised Tourniquets: Cautions and Best Practices
Quick take: Use an improvised tourniquet only when a proper commercial one isn’t available, and follow these steps carefully.
If you notice heavy bleeding that won’t stop, call emergency services now. Note the time you apply the tourniquet for clear information when you get medical care. Watch for any worsening pain, loss of feeling, or color changes in the limb.
Improvised tourniquets can be made with a triangular bandage folded to about 4 cm in width. Use a firm tool (like scissors or a table knife) as a windlass (a device used to twist and tighten) to help control the pressure. The aim is to press hard enough to slow bleeding but not so tight that you damage nerves or muscles.
Here are items you should not use for an improvised tourniquet:
- Thin neckties
- Rigid leather belts
- Narrow shoelaces
- Sewing cords
- Elastic hair bands
When using any makeshift device, maintain steady and even tension. Too little pressure may not stop the bleeding, while too much pressure can harm the limb. Stay alert to any changes in the limb’s color or sensation; these signs can guide your next steps.
Always remember to get professional help if symptoms worsen or you see red flags.
Tourniquet Safety Precautions and Aftercare
Quick take: After placing a tourniquet, watch the injured limb carefully to spot any warning signs.
Once you secure the tourniquet, check the limb every 5 minutes. Look for changes in color (pale or bluish), temperature (extra cool or hot), swelling, or shifts in how it feels (increased pain or numbness). These signs can show that you might need professional help soon.
| Sign | What to Do |
|---|---|
| Color changes | Watch for paleness or a bluish tint |
| Temperature changes | Feel for unusual coolness or warmth |
| Swelling | Notice if the size increases quickly |
| Pain or numbness | Note if these feelings get worse |
When a clinician is ready to remove the tourniquet, write down the exact time you put it on and share this detail with the responders. The tourniquet should only be removed when blood flow can safely return. Removing it too suddenly could trigger more bleeding. Also, do not rely on lifting the limb alone to stop the bleed, since current guidelines advise against that approach.
- Check the limb every 5 minutes.
- Write down and share the application time with medical responders.
- Stay alert for signs of shock and lay the person flat if needed.
Tourniquet Training and Practice Drills
Quick take: Regular tourniquet drills build your speed and confidence for bleeding emergencies.
Practice drills help you act fast when every second counts. When you practice applying a tourniquet, you build quick reflexes and clear decision-making skills under pressure. These hands-on exercises let you focus on speed, accuracy, and correct pressure while using one hand if needed. Real-life simulations using wound-simulator kits show you how to recognize critical decision points quickly. Whether you join quarterly workshops or practice online, these drills prepare you to act decisively.
• Timed application drill – Apply the tourniquet as fast as possible and secure it tightly within seconds.
• One-handed technique drill – Practice using only one hand, just like when your other hand is injured.
• Partner feedback drill – Work with someone who watches and offers clear feedback on your placement and pressure.
• Scenario-based exercise – Use wound-simulator kits that mimic serious bleeding so you know exactly when to act.
• Virtual simulation drill – Try online simulation tools to review your skills and test your knowledge in a safe, virtual setting.
Certification courses and community-led sessions give you more guidance and hands-on feedback. Regular training builds your confidence and ensures you stay updated with the latest tourniquet guidelines. This way, you’re always prepared to help when a bleeding emergency occurs.
Special Scenarios for Tourniquet First Aid
Quick take: Adjust tourniquet use to match the patient and setting; act fast if bleeding does not slow or shock signs appear.
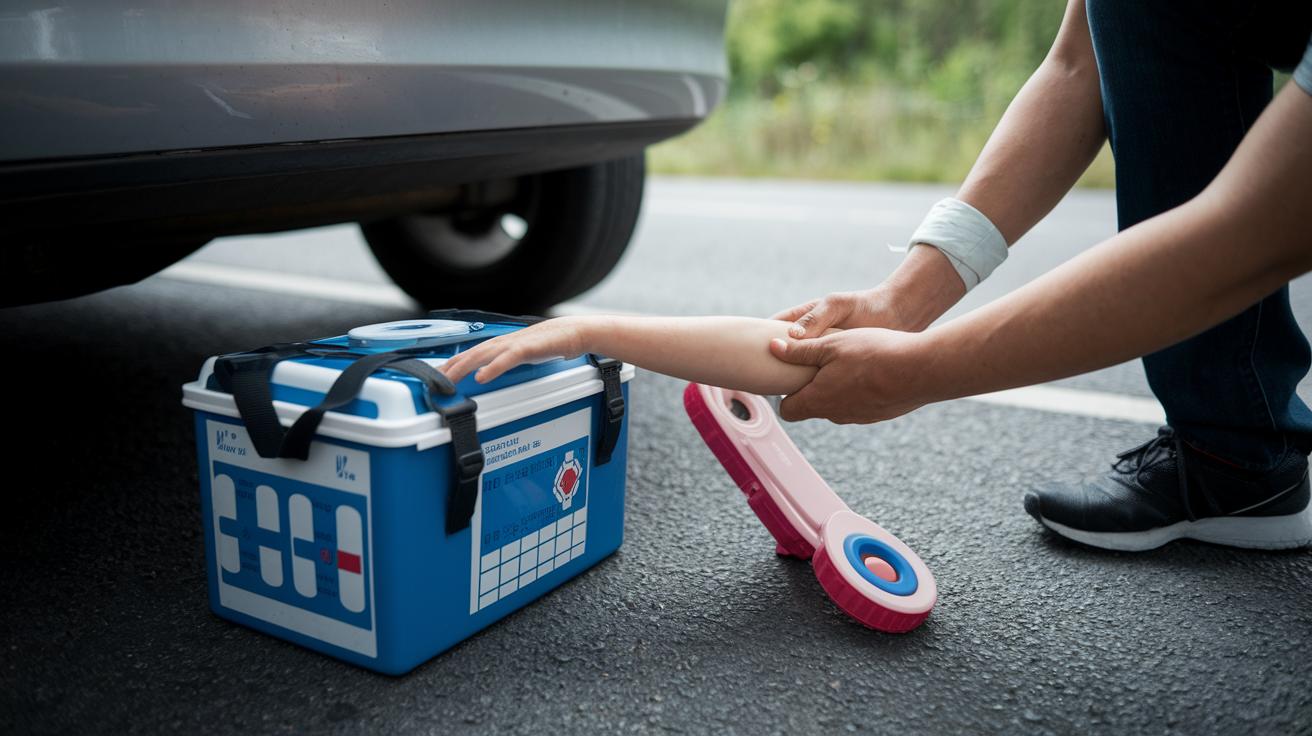
Sometimes you need to change the usual tourniquet steps because of the situation. For kids, use lighter, pediatric-specific devices so you don’t over-compress. Out in the wilderness, use a bleeding control dressing with your tourniquet and plan for a slower rescue. On the roadside, brace the injured limb against a firm surface like a vehicle floorboard to help hold the tourniquet in place. At large events, pack extra tourniquets in your kit and coordinate with on-site medical teams for a quick response.
- Pediatric emergencies: Use devices made for children or smaller bands to avoid too much pressure.
- Wilderness settings: Combine the tourniquet with a special bleeding dressing and be ready for delayed evacuation.
- Roadside incidents: Support the injured limb with a solid surface like a vehicle floorboard during application.
- Mass events: Keep several tourniquets handy and work with on-site medical support.
If the bleeding remains uncontrolled or you notice signs like a rapid pulse, shallow breathing, or feeling faint, call emergency services right away.
Final Words
In the action: you now have a clear guide on tourniquet first aid, from safe application to choosing the right equipment and knowing when to improvise. The steps detail how to stop severe bleeding, monitor safety, and avoid common errors. Training drills and special scenarios give you extra confidence for emergencies. Your readiness and careful practice can make a real difference. Stay focused, update your kit regularly, and keep learning to be prepared when it matters most.
FAQ
What is a tourniquet and how is it used in first aid?
The tourniquet is used in first aid to control severe bleeding when direct pressure fails. It wraps around a limb above the wound, restricts blood flow, and helps prevent excessive blood loss.
What items are included in a tourniquet first aid kit?
The tourniquet first aid kit includes the tourniquet device, spare bands, and sometimes hemostatic agents like QuikClot. These items work together to control bleeding in emergency situations.
How do you tie a tourniquet for first aid?
Tying a tourniquet involves placing it 2–3 inches above the wound on bare skin, wrapping it snugly, and twisting the windlass rod until bleeding stops, then recording the time of application.
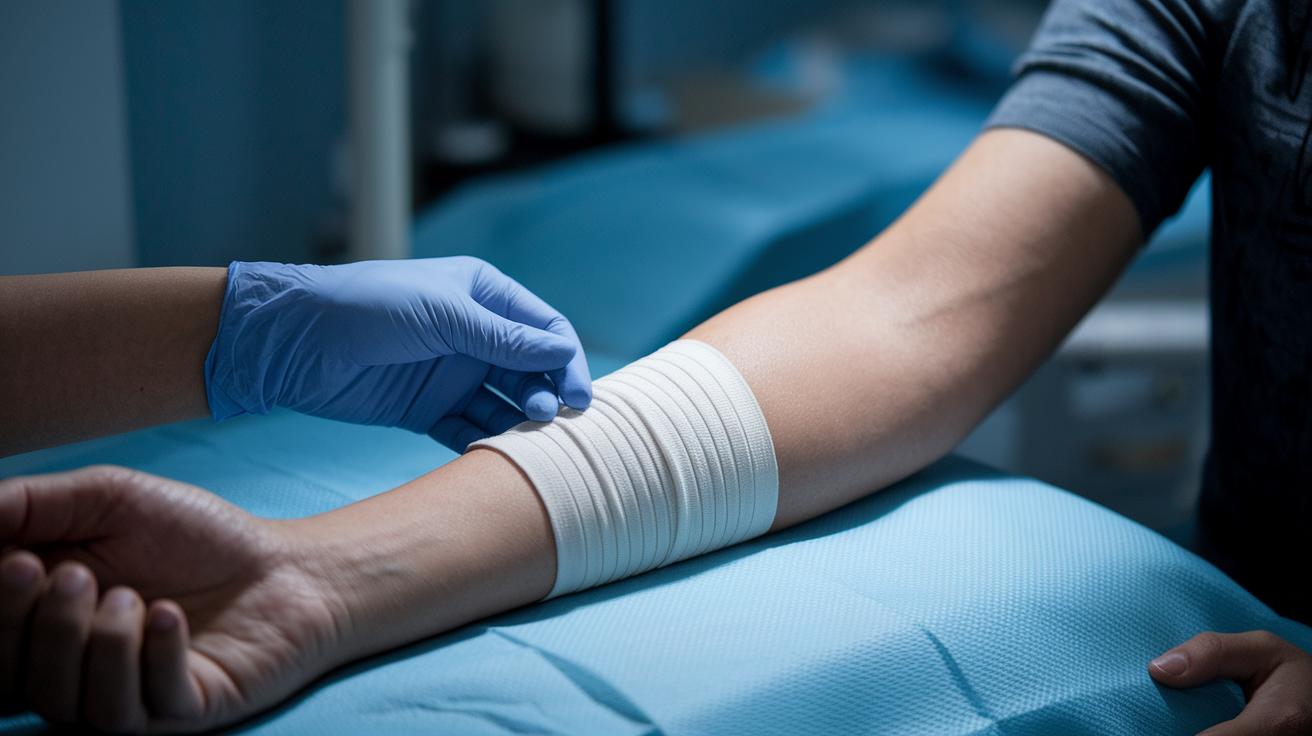
How can you apply a tourniquet during a venipuncture?
For venipuncture, the tourniquet is applied around the limb above the venipuncture site to temporarily restrict blood flow and make veins more visible during the procedure, after which it is removed promptly.
What are the steps for using a tourniquet effectively?
The five steps include positioning the tourniquet 2–3 inches above the wound, wrapping securely, using the windlass to twist until bleeding stops, marking the time, and preparing for medical handoff.
What are the basic rules and safety precautions for using a tourniquet?
Basic rules require placing the tourniquet correctly on bare skin, using a band of at least 4 cm, avoiding over-tightening to prevent tissue damage, and recording the application time for further medical care.
Is a tourniquet considered part of first aid treatment?
The tourniquet is indeed part of first aid treatment, used as a critical tool to control life-threatening bleeding when other methods like direct pressure are insufficient.