
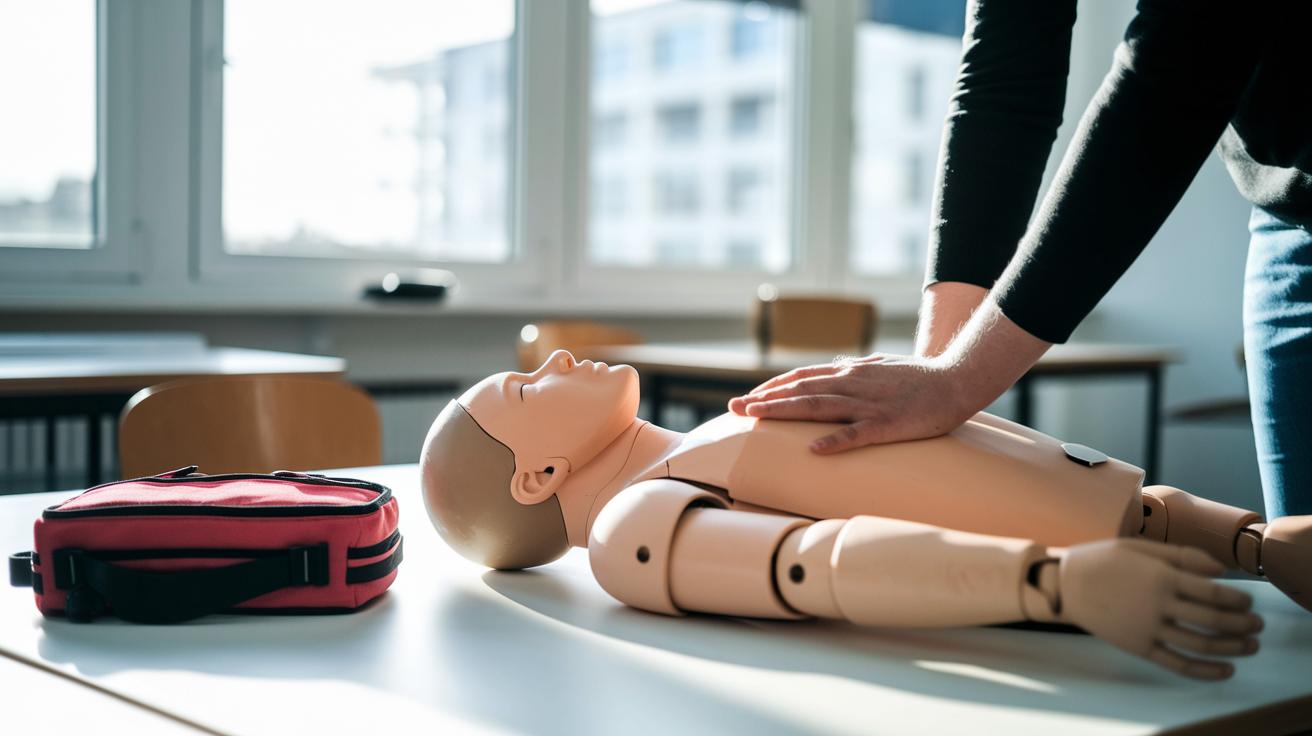

Quick Take: Acting fast on minor injuries like cuts and burns can prevent complications.
If you have any of these signs, call emergency services now:
• Heavy bleeding or deep cuts
• Burns that cover a large area or cause severe pain
• Signs of infection (redness, swelling, or pus)
This guide explains simple steps to manage small injuries. Have you ever thought that quick care might stop a cut or burn from worsening? Acting fast can make the difference between a minor accident and a more serious problem.
In the steps below, you'll learn how to:
• Clean wounds safely using soap and water
• Care for burns with cool water and cover them lightly
• Keep yourself safe, especially if you want to help someone else
Follow these tips closely and keep them in mind when every second counts.
Essential First Aid Procedures Overview
Quick take: Acting fast with simple steps can stop injuries from getting worse.
Triage Box:
• Red Flags: Uncontrollable bleeding, signs of shock (dizzy, faint, confused), severe burns. Call emergency services now.
• Urgent: If you see a large burn or dangerous injury, seek same-day medical help.
• Basic Self-Care: Clean small cuts, use antibiotic ointment, and cover wounds to stop bleeding and prevent infection.
First aid is all about clear, quick actions. Start by cleaning any cut with soap and water. Put on a thin layer of antibiotic cream and cover it with gauze or a bandage. These steps help stop bleeding and keep germs away.
For burns, check the burn’s size and type. For a minor burn, cool the area with cool water right away. If you think the burn is serious, be careful, wrong treatment can cause more harm.
Before giving help, always scan the area for hazards to keep both you and the injured person safe. Look for red flags like heavy bleeding or signs of shock. If you spot these, call emergency services immediately.
Review and refresh these first aid steps often. Quick, proper care can help prevent long-term damage and save lives.
Scene Safety Procedures Before First Aid

Quick take: Confirm the area is safe before you help anyone.
Before you step in, take a moment to look around and spot any dangers. Check for things like moving traffic, fire, spilled chemicals, or unstable structures. Your safety matters too.
Triage box:
• Red Flags: Leaking chemicals, exposed wires, or moving equipment.
• Urgent: Hazards that could harm both you and the injured person.
• Basic Steps: Check the area, move to safety, then approach the person in need.
Follow these steps:
- Look around carefully to spot any risks.
- Find a clear escape route before starting first aid.
- Make sure your first aid supplies and information are ready.
- Warn anyone nearby about the dangers.
Remember: pause to check for new threats because safety first protects everyone.
First Aid Procedures for Wound Stabilization and Bleeding Control
Quick take: Clean, protect, and bandage wounds right away to stop bleeding and fight infection.
When you get a cut or scrape, follow these steps:
-
Rinse the wound with soap and water immediately. Use a gentle soap that won’t irritate your skin. Avoid harsh cleaners like hydrogen peroxide or isopropyl alcohol because they can damage new tissue and slow healing.
-
Pat the wound dry with a clean cloth. Make sure it is completely dry so bacteria have less chance to grow.
-
Apply a thin layer of antibiotic ointment. This helps block germs and supports the healing process.
-
Cover the wound with gauze or a bandage. This keeps the ointment in place and shields the area from dirt and further injury.
Keep an eye on the wound. If you notice increasing redness, swelling, or pus, or if the cut feels deeper than expected, seek medical help immediately. Change your bandage regularly to keep the area clean and to help the wound heal properly.
Burn and Scald First Aid Procedures
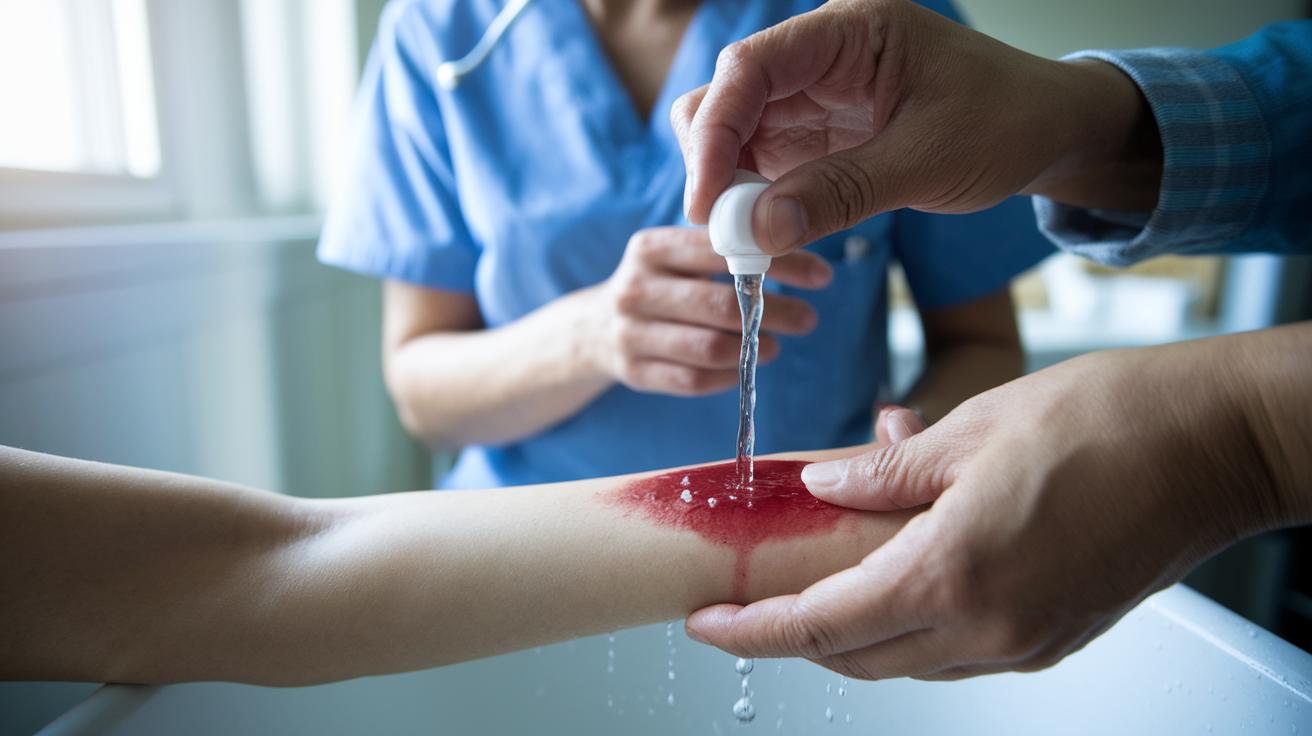
Quick take: Burns need fast, careful action. If you see deep burns with white or charred skin or large blisters, call emergency services right away.
Triage steps:
• Red flags: Call emergency services now if the burn is large, deep, or shows charring.
• Urgent: Seek same-day medical help for burns with blisters or heavy pain.
• Self-care: Manage minor burns at home with first aid steps.
When you come across a burn, quickly decide how serious it is. Burns may be light (red and painful) or more serious (blisters or white, charred areas). They usually fall into four groups: minor scalds, moderate burns, chemical burns, and severe burns.
For minor scalds or first-degree burns, hold the affected area under cool running water for 10–20 minutes. This lowers the temperature of the skin and eases pain. Don’t use ice directly because it can damage the skin further.
For chemical burns, first take off any contaminated clothing. Then, flush the area with plenty of water for at least 20 minutes. Avoid rubbing the skin so you don’t spread the chemical. After rinsing, check the area and get professional advice if needed.
If you notice blisters or the skin looks charred, do not break the blisters or apply creams. Instead, cover the burn lightly with a clean, dry cloth and get ready to call for medical care if necessary.
Steps to follow:
• Cool the burn with cool running water.
• Identify the type of burn.
• Rinse chemical burns thoroughly.
• Cover the burn lightly with a clean cloth.
Taking these careful steps can help you decide if you can manage the burn at home or if you need urgent care.
CPR and Resuscitation First Aid Procedures
Quick take: Fast CPR can save a life when breathing or the heart stops.
Triage Box:
If you see any of these signs, call emergency services right away:
- No breathing at all
- Unresponsive and no signs of life
When someone stops breathing or their heart stops, every second counts. First, check if they are awake by tapping and calling their name. If there is no response, call for help immediately. For adults, place your hands on the center of their chest and start chest compressions with firm pressure, pushing about 2 inches deep and letting the chest fully rebound. Use a compressions-to-breath ratio of 30:2.
For children, use similar steps but be gentler. Press about one-third as deep as you would for an adult, and keep the same ratio of 30 compressions to 2 breaths if you are alone.
Steps to start:
- Check that the area is safe.
- Tap the person and shout to see if they respond.
- If there is no response, call emergency services immediately.
After you give 30 compressions, tilt the head back to open the airway, pinch the nose shut, and gently deliver 2 breaths. Watch closely for any movement or signs of recovery as you continue with CPR. In a high-stress situation, focus on one step at a time: start with compressions and then add rescue breaths.
Keep performing CPR until emergency help arrives or the person shows clear signs of recovery. Getting certified through national courses can boost your confidence and help you master these lifesaving techniques. Regular refresher classes will keep your skills sharp in case you ever need to act fast.
Shock and Time-Critical First Aid Procedures

Quick take: If you see shock signs, act fast to keep the person safe.
Triage Box:
- Red Flags: Look for very pale skin, fast shallow breathing, confusion, or loss of consciousness. If you see any of these, call emergency services right away.
- Urgent: If the person’s breathing, airway, or circulation seems off, get immediate medical help.
- Basic Self-Care: Keep the person calm and watch their condition closely.
Severe injuries or stings can lead to shock. You might notice the skin looks very pale or cool, the breathing is quick and shallow, or the person seems confused. If you spot these signs, call emergency services immediately.
Steps to follow:
- Tap and speak to the person to check if they are responsive.
- If they are alert, help them lie on their back and, if you can, lift their legs to boost blood flow.
- Cover them with a light blanket or clothing to keep them warm.
- Watch their breathing and alertness closely. Write down any changes or worsening symptoms.
- Keep the area calm to avoid increasing their stress.
Quick actions like these can help keep the person stable until professional help arrives.
Environmental Hazard First Aid Procedures: Heat Exhaustion and Hypothermia
Quick take: Extreme heat or cold can quickly worsen your condition, so act fast.
Triage Box:
- Red Flags: Look for muscle cramps, heavy sweating, and confusion (for heat exhaustion) or shivering, slurred speech, and a body temperature below 95°F (for hypothermia).
- Urgent: If you see signs of heatstroke (hot, dry skin) or a confused person with hypothermia, get help now.
- Basic Self-Care: Move the person to an area with a safer temperature and offer water or warmth as needed.
If you notice someone showing signs of heat exhaustion, help them move to a cooler spot immediately. Let them sip water slowly and use cool, damp cloths on their forehead and neck. Keep an eye on them for signs like dizziness or fainting. If their skin becomes hot and dry, which could mean heatstroke, call emergency services right away.
For hypothermia, if the person is shivering a lot, seems confused, or has a body temperature lower than 95°F, gently move them to a warmer area. Wrap them in blankets and offer a warm, non-alcoholic drink if they are fully alert. Avoid using direct heat sources like hot water or heating pads, because these can cause burns or shock.
Imagine a worker in the heat who suddenly experiences severe cramps. Moving them to a cooler place and giving water can help prevent a crisis.
First Aid Procedures Kit Essentials and Checklist
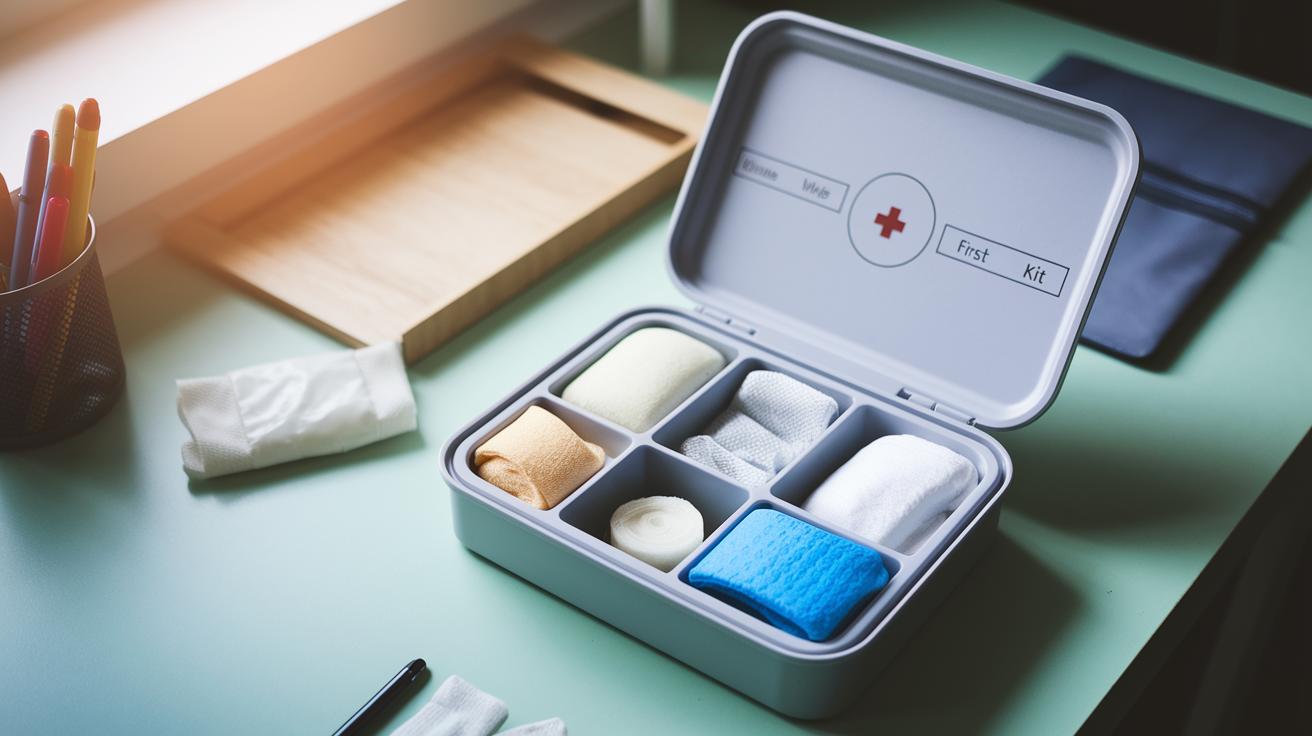
Quick take: Keep your first aid kit neat and complete so you can act fast in an emergency.
Make sure your kit is easy to grab when an injury occurs. It should hold basic items like adhesive bandages (stick-on covers for cuts), gauze pads (soft dressings for wounds), antiseptic wipes (germs fighter), sterile gloves (clean hand protection), and a cold pack (to help reduce swelling). A ready kit is your first step to safe care. Label each section clearly, for example, a small note saying "Be ready" can remind you of what’s inside during a busy moment.
Here’s a simple checklist to review often:
- Check that you have adhesive bandages in different sizes.
- Add sterile gauze pads and secure them with medical tape.
- Stock antiseptic wipes, antibiotic ointment (germ fighter), and sterile gloves.
- Include scissors, tweezers, and a digital thermometer.
- Pack a cold pack and a handy first aid manual.
- Put any personal medications you might need, especially at work.
- Ensure an emergency contact card is inside.
| Item | Purpose |
|---|---|
| Adhesive Bandages | Cover minor cuts and scrapes |
| Cold Pack | Help reduce swelling and pain |
After each use, update the supplies and check the kit on a regular schedule. Make sure everyone in your home or office knows where the kit is kept and its contents. Staying prepared can make all the difference when every second counts.
First Aid Procedures Training and Certification
Build your confidence with solid first aid training. Courses like Heartsaver Pediatric First Aid CPR AED, Basic Life Support CPR, and HeartCode® BLS give you the skills to act safely during an emergency. These classes teach core assessment skills so only trained people give first aid.
You also learn about bloodborne pathogens (germs in blood), fire extinguisher use, and how to use an AED (automated external defibrillator). Many workplaces hold on-site training sessions with drills that mimic real-life emergencies. For example, you might practice handling a workplace injury by learning how to stop bleeding or check for signs of shock.
Training exercises include:
- Practicing CPR and using an automated defibrillator.
- Learning safe ways to handle blood or body fluids with the right protective gear.
- Following the proper steps to secure the area and check a person before giving aid.
Regular refresher sessions help you keep your skills sharp. Simulation exercises, like emergency role-playing, give you quick feedback and build confidence to act under pressure. Whether you join a full-day course or a brief in-service session, the goal is to ensure your response is prompt, reliable, and medically sound.
First Aid Procedures for Fracture Immobilization and Sprain Management

Quick take: If you suspect a broken bone or a bad sprain, act calmly and avoid moving the injured part.
Triage Box:
If you see any of these signs, call emergency services now:
- Severe, unmanageable pain
- A limb that looks out of place or deformed
- Numbness or loss of feeling
For a suspected fracture, try not to move the person unless it’s absolutely needed to keep them safe. Look for signs such as a strange angle or sharp pain. Do not try to straighten the limb. Keeping it still lowers the risk of further damage until professional help arrives.
For a sprain, use the simple RICE method:
- Rest: Stop any activity that causes pain.
- Ice: Apply an ice pack on the injured area for 20 minutes at a time to lower swelling.
- Compression: Wrap the area with an elastic bandage to support the injury and help reduce swelling.
- Elevation: Keep the injured limb raised above your heart level to ease swelling.
Keep an eye on the pain and note any changes in movement. Stay calm and encourage the injured person to remain still. These steps help protect the injury until trained professionals can take over the care.
Final Words
In the action, our guide tackled first aid procedures to help you act fast in emergencies. We went over scene safety, wound stabilization, burn care, CPR, shock management, and treatments for heat exhaustion or hypothermia. You learned the importance of keeping a stocked kit and getting trained in these life-saving methods. Every step offers clear actions to protect you and others until professional help arrives. Stay prepared, follow these simple tips, and keep safe.
FAQ
What are basic first aid procedures?
The basic first aid procedures outline how to assess safety, handle bleeding, and stabilize injuries by cleaning wounds, applying bandages, and monitoring the patient to prevent further harm until professional help arrives.
What are the 5 basic steps for first aid?
The 5 basic steps in first aid involve ensuring scene safety, checking responsiveness, calling for help, starting treatment by controlling bleeding or injuries, and monitoring the victim until help arrives.
What are the 7 steps of first aid?
The 7 steps of first aid include ensuring safety, assessing responsiveness, calling for help, checking the airway and breathing, controlling bleeding, treating for shock, and monitoring recovery continuously.
What are the 7 steps of CPR in order?
The 7 steps of CPR start with checking scene safety, assessing responsiveness, calling for help, checking breathing, initiating chest compressions, delivering rescue breaths, and continuously reassessing the victim.
What are first aid procedures for nurses?
First aid procedures for nurses involve thorough patient assessment, immediate bleeding control, proper wound care, performing CPR if needed, and activating emergency services while continuously monitoring the patient’s condition.
Where can I find a first aid procedures PDF?
A first aid procedures PDF is available from trusted sources like the American Red Cross or workplace safety websites, offering a clear, printable guide outlining essential steps for emergency care.